
From Forms to Emails: Automating User Feedback with Google Apps Script
Collecting, analyzing, and communicating user feedback on autopilot


Introduction
Tired of setting up your user feedback forms, analyzing the data, and communicating results to a variety of different people by sending emails, 1 by 1?
In this article, I go over how you can automate collecting user feedback with Google Forms, having that data analyzed in Google Sheets, and crafting a tailored and beautifully designed response in Gmail, fully on autopilot.
This is a workflow I stumbled upon while looking for efficient ways to gather feedback from users (more on this below), and I feel it could help to share it with you out there having similar issues.

The workflow
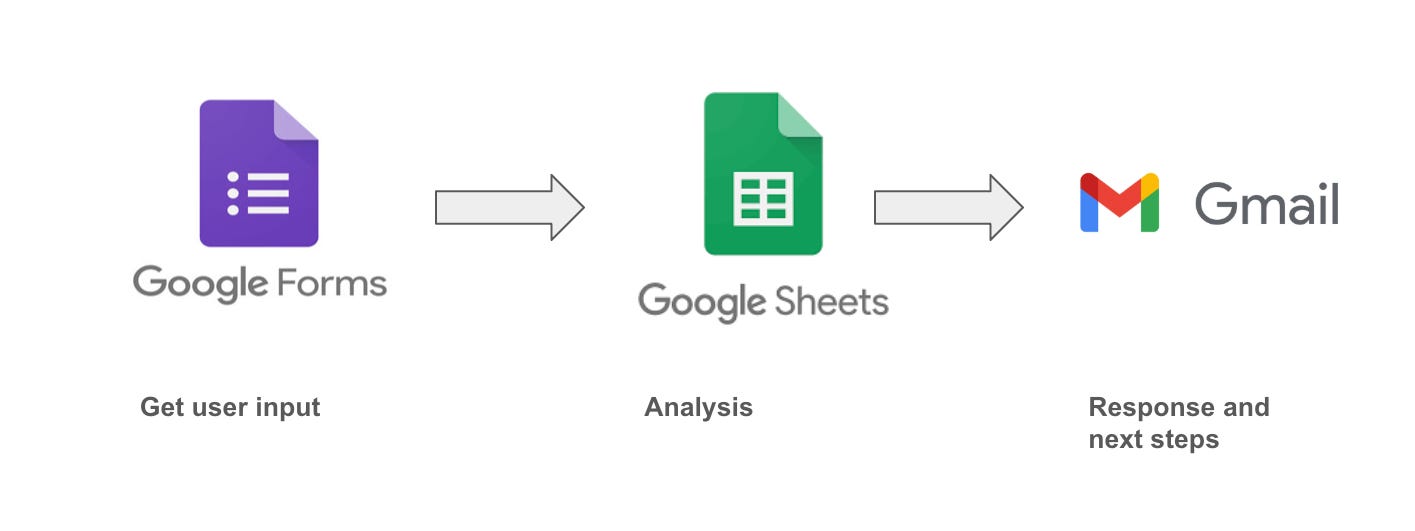
The key steps we’ll go through are:
Setting up a Google Form and connecting it to a Google Sheet
Analyze the input data in the Google Sheet with AppScripts.
Send back an email response to the user via Gmail with AppScripts
Setting up the form
Creating a form is straightforward. Simply log into your Google Form account (or set one up if you’re new) and create a form with the specific questions you’d like user input on.
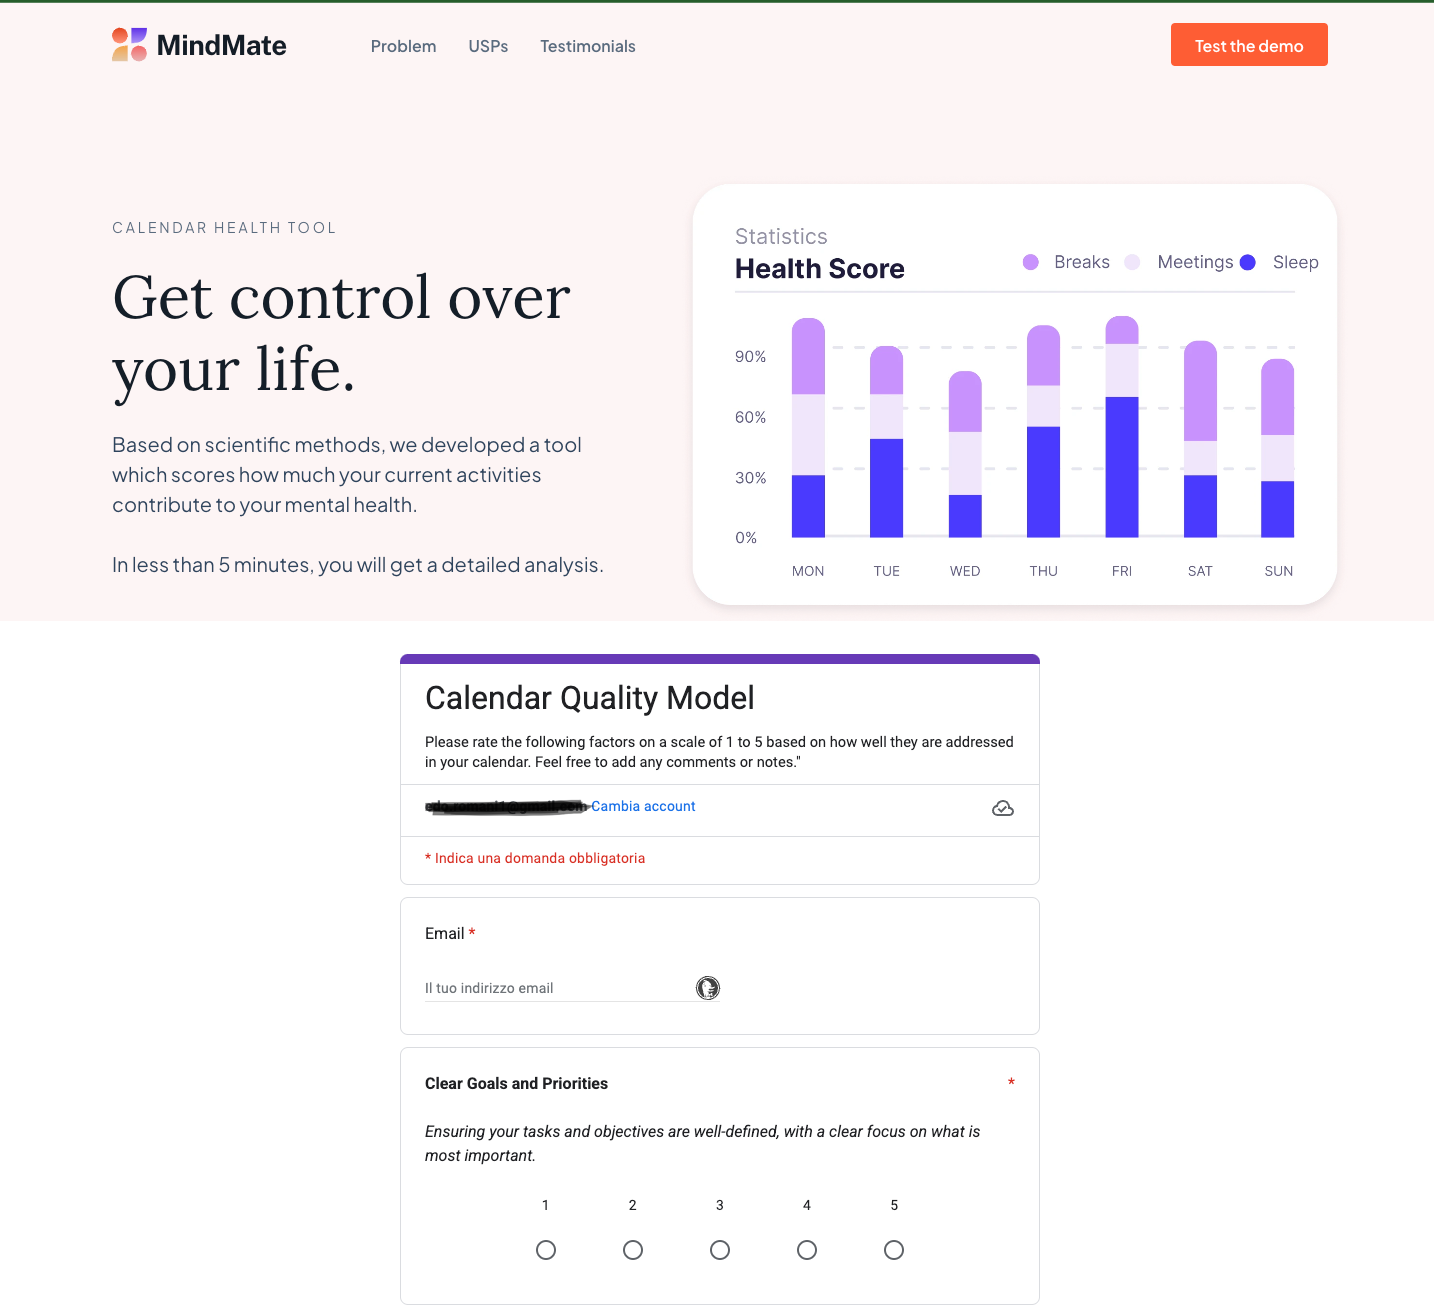
Practical Application: A Personal Calendar Quality Model
In my case, I wanted to set up a form to get answers to 10 questions for the user on how they feel their personal/work calendar is good or bad, across 10 different dimensions (e.g. Having Clear Goals and Priorities for the day, ensuring Time Blocks for focus time, etc).
These questions can be anything, and also a mix of qualitative and quantitative answers. In this example, I only set up 10 quantitative questions and called the form Calendar Quality Model.
You can also access this form directly from a sample landing page I’ve created for this topic (click on “Test the Demo” to access it).
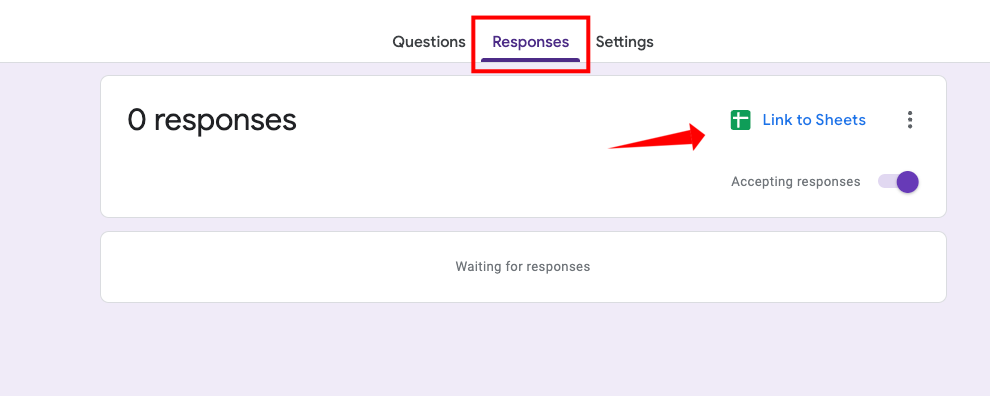
Connecting the form to Google Sheets
Once your form is ready to go, you can connect it to Google Sheets so that you can collect form responses there.
From your form, click on the responses > Link to Sheets.
And then select a destination for your responses:
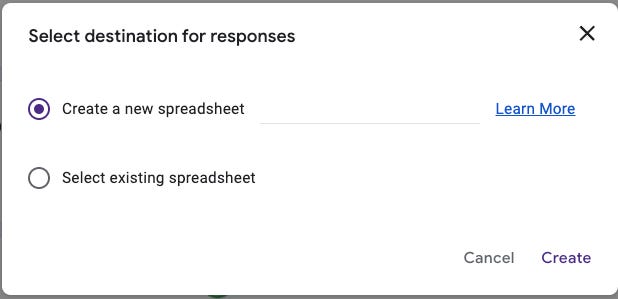
At this point, you’re all good to go. You can start to share your form and gather responses.
Using AppScripts to analyze form data
Once you’re in Gsheet, you can use App Scripts to ingest user’s input and analyze it however you need based on your use case.
In my case, I wanted to:
Get user scores from the form responses
Calculate the total score (sum of all 11 factors that make up the personal calendar quality model)
Determine the calendar quality score based on the total score
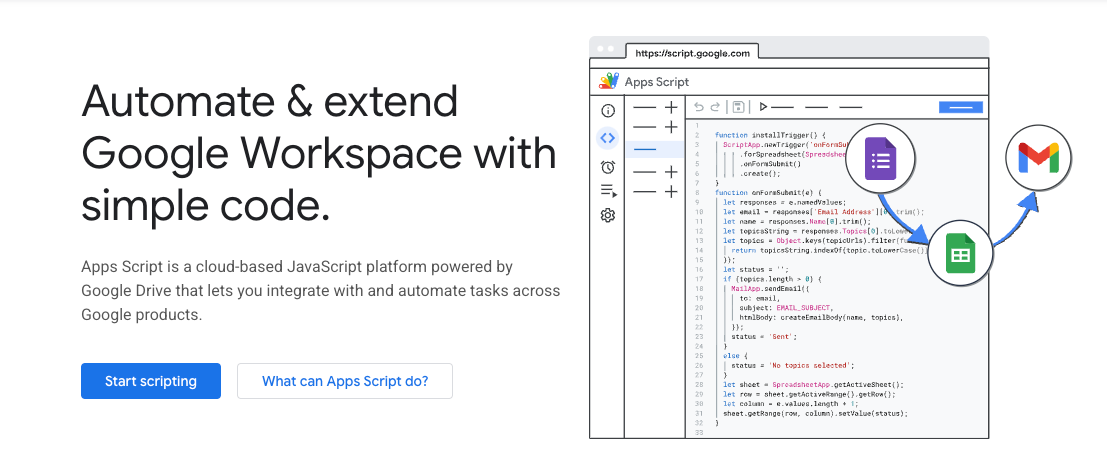
To get started, simply open your Google Sheet > click on Extensions > AppScripts.
You’ll get redirected to the AppScripts interface, from which you can start to code your custom script. Note that AppScripts is Javascript-based, so you’ll need to have some HTML, CSS & Javascript knowledge to get the most out of it.
You can check out this great and beginner-friendly Web Development course if you want to dig deeper into these topics. For simple use cases, you can get some code from ChatGPT or similar LLM and copy/paste it/refine it as you go based on your needs.
Using AppScripts to analyze data
We start the code by selecting the current sheet. Then, we break down each of the three key steps mentioned above.
Get user scores from the form responses.
We use the .getRange() function to select each response and store the user input into a variable. We repeat for all responses.
  // Get the current spreadsheet, sheet, and latest response (last row)
  var sheet = SpreadsheetApp.getActiveSpreadsheet().getActiveSheet();
  var lastRow = sheet.getLastRow();

  // Get user scores from the form responses from each Column
  var clearGoals = sheet.getRange(lastRow, 2).getValue();  // Column B
  var timeBlocking = sheet.getRange(lastRow, 3).getValue();  // Column C
  var balanceWorkLife = sheet.getRange(lastRow, 4).getValue();  // Column D
  var flexibility = sheet.getRange(lastRow, 5).getValue();  // Column E
  var regularBreaks = sheet.getRange(lastRow, 6).getValue();  // Column F
  var reviewReflect = sheet.getRange(lastRow, 7).getValue();  // Column G
  var useOfTechnology = sheet.getRange(lastRow, 8).getValue();  // Column H
  var realisticTimeEstimates = sheet.getRange(lastRow, 9).getValue();  // Column I
  var incorporateDowntime = sheet.getRange(lastRow, 10).getValue();  // Column J
  var healthyRoutines = sheet.getRange(lastRow, 11).getValue();  // Column K
  var accountabilitySupport = sheet.getRange(lastRow, 12).getValue();  // Column L
Calculate the total score (sum of all 11 factors that make up the personal calendar quality model)
// Calculate the total score (sum of all 11 factors that make up the personal calendar quality model)
var totalScore = clearGoals + timeBlocking + balanceWorkLife + flexibility + regularBreaks +
                   reviewReflect + useOfTechnology + realisticTimeEstimates + incorporateDowntime +
                   healthyRoutines + accountabilitySupport;
We sum the score and store the total score in the relevant variable, totalScore.
Determine the calendar quality score based on the total score
We use a simple if/else statement to determine the personal calendar quality based on the total score, ranging from Poor (11–22 total score) to Great (45–55 total score).
// Determine the calendar quality score based on the total score
  var qualityScore;
  if (totalScore >= 45) {
    qualityScore = "Great (45-55: Excellent quality, well-optimized)";
  } else if (totalScore >= 34) {
    qualityScore = "Good (34-44: Good quality, generally effective)";
  } else if (totalScore >= 23) {
    qualityScore = "Low (23-33: Fair quality, some areas need attention)";
  } else {
    qualityScore = "Poor (11-22: Needs significant improvement)";
  }
We can use this score to send back an email to the user, giving them feedback based on their quality score (a metric we assume gives them an indication of their personal calendar quality based on the factors I came up with).
Using AppScripts to send the data back to the user via GMail
At this point, we can also get the user’s email (collected when the user fills in the form):
  // Get the user's email (assuming it's in the first column, adjust if needed)
  var userEmail = sheet.getRange(lastRow, 13).getValue();
And use it in the MailApp.sendEmail() function to embed the total score and quality score. The additional code you see is HTML and CSS code to give the email nicer formatting.
MailApp.sendEmail({
to: userEmail,
subject: "Your Calendar Quality Score from MindMate",
htmlBody: `
<div style="font-family: Arial, sans-serif; color: #333; background-color: #f7f7f7; padding: 20px;">
<div style="background-color: #FFA500; text-align: center; padding: 20px;">
<!-- Orange Header without Image -->
</div>
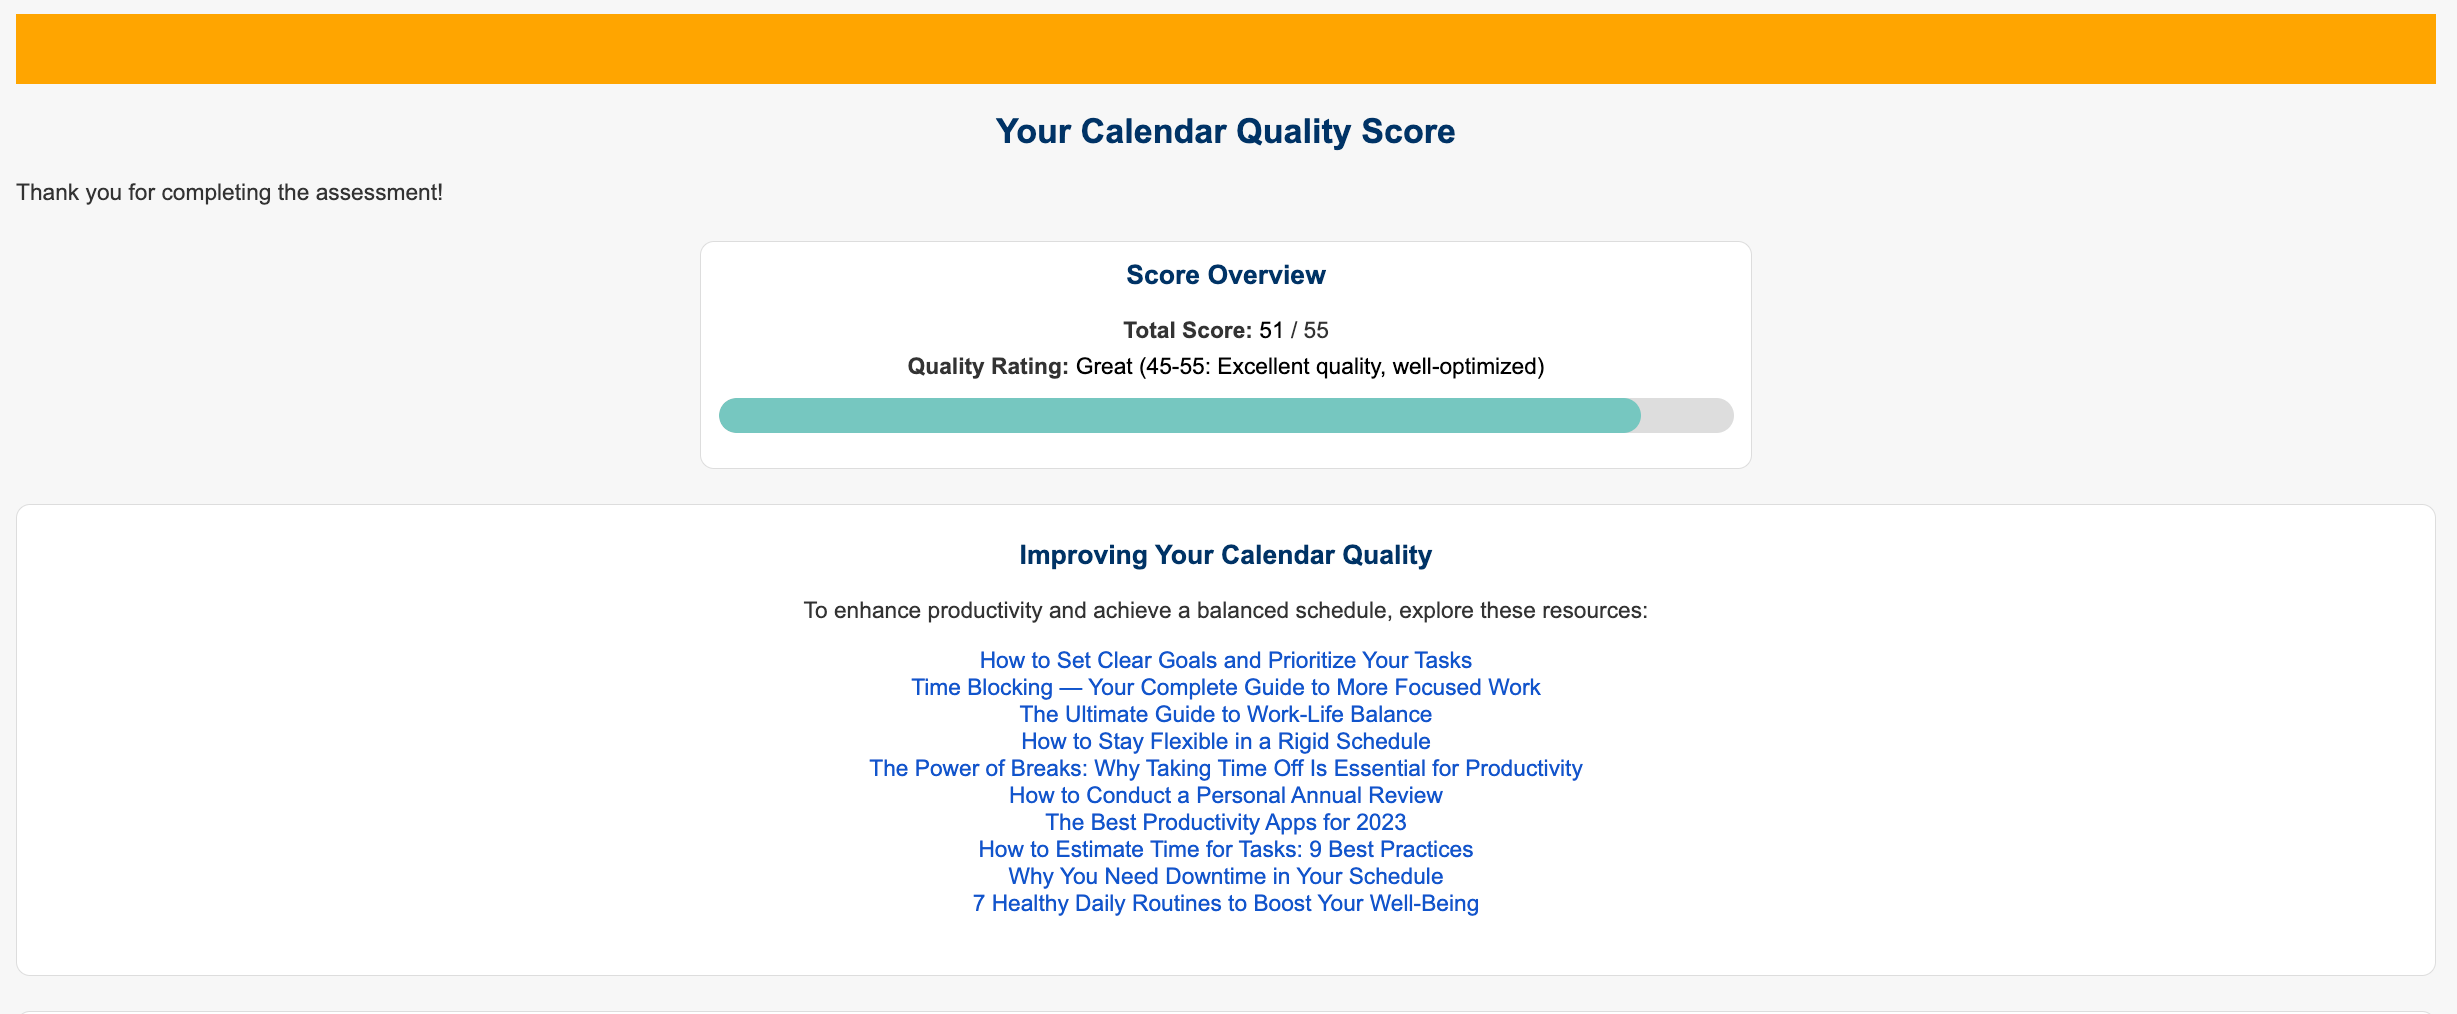
<h2 style="color: #003366; text-align: center;">Your Calendar Quality Score</h2>
<p>Thank you for completing the assessment!</p>
<!-- Compact Score Overview and Energy Bar Box -->
<div style="border: 1px solid #ddd; background-color: #fff; padding: 10px; width: 580px; border-radius: 8px; margin: 20px auto; text-align: center;">
<h3 style="color: #003366; margin-top: 0;">Score Overview</h3>
<p style="margin: 5px 0;">
<strong>Total Score:</strong> <span style="color: #000;">${totalScore}</span> / 55
</p>
<p style="margin: 5px 0;">
<strong>Quality Rating:</strong> <span style="color: #000;">${qualityScore}</span>
</p>We add additional formatting adjustments and conclude by wrapping the entire code in the onFormSubmit() function, which runs every time a new form entry is submitted.
You can find the full code here.
The End Result
The email the user will then receive after form submission is the following, where the Quality Score and Total Score are played back to the user, along with some additional resources linked in another email section.
Summary
Hopefully, this example gives you a sense of the automation you can achieve with just a little bit of playing around with AppScripts, and helps your survey data collection and analysis efforts!
Reach out if you have any questions, and thanks for reading!
Find me at @thedatanewsletter.io
